Clothing
How To Sublimate On Canvas: A Step-By-Step Guide
Sublimating on canvas might not be the first thing that comes to mind when you think of this versatile art medium, but with a few simple steps, you can create stunning sublimated canvas pieces that are perfect for home decor, gifts, and more. In this guide, we’ll walk you through the process of sublimation on canvas, from sizing your design to the final reveal.
What Is Sublimation?

Sublimation is a remarkable physical process where a substance transitions directly from a solid to a gas without going through the liquid phase. This process occurs when the substance absorbs heat energy, causing its particles to gain enough energy to break free from the solid structure and become vapor.
In the context of sublimation printing, special inks, called sublimation inks, are used. These inks contain dyes that can undergo sublimation when exposed to heat. When sublimation ink is applied to a substrate, like paper or fabric, and subjected to heat, the ink turns into a gas without becoming a liquid.
The advantage of sublimation printing is that it allows for the creation of vibrant, high-quality, and durable images on various materials, including clothing, ceramics, and signage. It’s widely used in the textile and promotional product industries, as well as for producing personalized items like custom mugs, T-shirts, and photo gifts.
Supplies Needed to Sublimate on Canvas

The materials required for sublimating on canvas include:
- Sublimation printer
- Sublimation ink
- Heat press
- Sublimation paper
- Heat-resistant gloves
- Lint roller
- Heat-resistant tape
- Artesprix Protective Paper (Use code CCC10 for 10% off)
- Canvas of your choice (including those from Dollar Tree)
- Clear Dye Sub HTV (The frosty version can be used if the clear is out of stock, but please note that this specified product is required, and other clear HTV products won’t work.)
- Scissors
- Paper trimmer
- Heat-resistant foam
- Pressing pillows
- Scraper
- Water
- Rag
how to sublimate on canvas – Step By Step Guide
Step 1: Sizing Your Sublimation Design
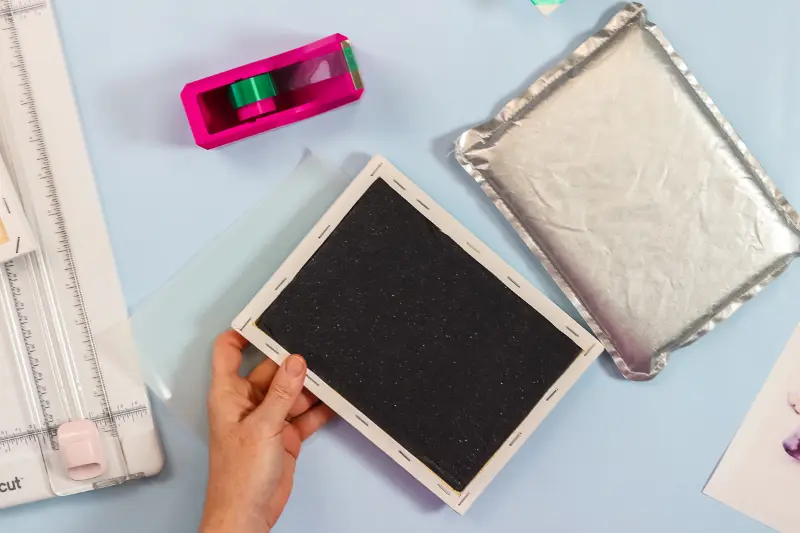
Before you begin the sublimation process, you’ll need to size your design to fit your canvas properly. Here’s how to do it:
- Start by determining the size of your canvas. For this example, we’ll use an 8 x 10 canvas.
- Use design software like Silhouette Studio or any other preferred design software to create or import your design.
- Ensure that your design is the right size (8 x 10 in this case) and that it is proportionate to the canvas. You want it to fit well but not extend to the edges.
- Remember to flip your design horizontally. Sublimation requires this step so that the ink will be against the canvas when printed.
Step 2: Photo Canvas Options
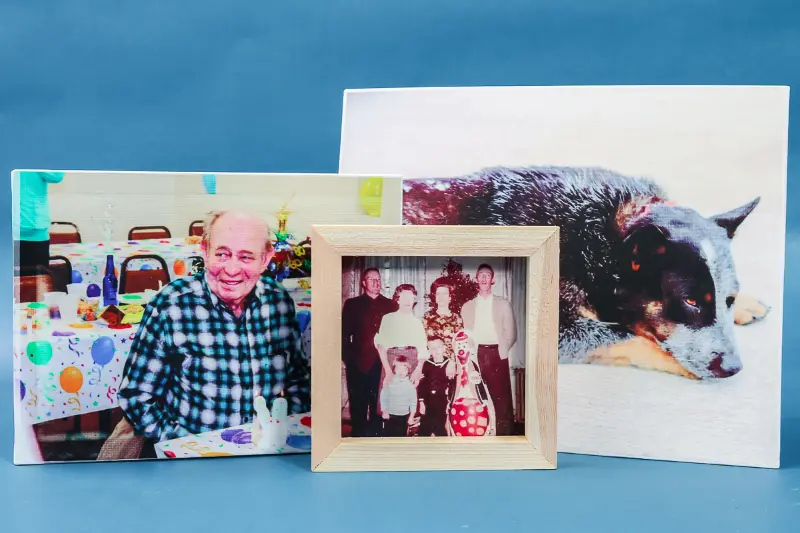
The first method involves using a flat canvas without a frame and sublimating directly onto the top surface. This approach is the simplest, making it an excellent choice, especially for those who are new to the process.
Alternatively, you can opt for a canvas that features an internal frame and sublimates on its outer surface. While this method requires a few additional materials, it can be worth it if you desire a canvas with a more sophisticated gallery-style appearance.

Another creative option is the reverse canvas technique, where you take the frame from the inside and utilize it on the outside of the canvas. This approach imparts a unique aesthetic to your projects, but it can also result in a somewhat rustic appearance, which may be ideal for certain artistic endeavors.
Step 3: Adding Clear Dye Sub Htv To Canvas
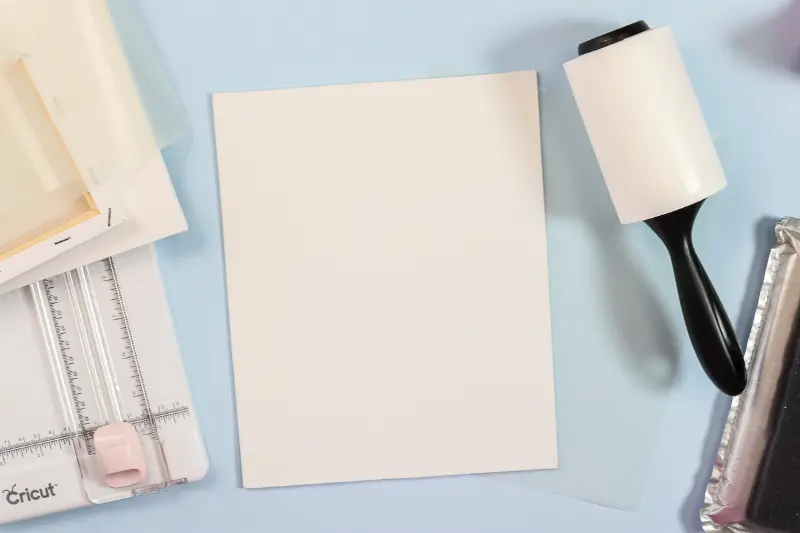
Let’s start by discussing the application of clear dye sub HTV to your canvas. In each scenario, there are specific steps to follow.
Firstly, you should measure the intended area and use a paper trimmer to cut the clear dye sub HTV to precisely match the area you plan to sublimate. It’s a good practice to make it slightly smaller than the canvas to avoid any HTV edges reaching the canvas border, which could result in an uneven texture.
Another crucial aspect is ensuring the canvas surface is impeccably clean. Any stray hair or lint can become visible through the clear HTV, and that’s something you definitely want to avoid for a pristine finish.
Always apply the HTV with the shiny side facing down onto the canvas. The rough or dull side should be facing up during the pressing process. I find it helpful to position the HTV and secure it in place using heat-resistant tape to ensure it stays precisely where you want it. If you’re working with a flat canvas, you can proceed to use your heat press after applying the HTV to the surface.
For the version with an internal frame, you’ll need to introduce an element to apply pressure from the inside. I added heat-resistant foam inside and placed it on top of a pressing pillow, creating a stable surface for pressing. Adjust your heat press accordingly and follow the same procedure as with the flat canvas.
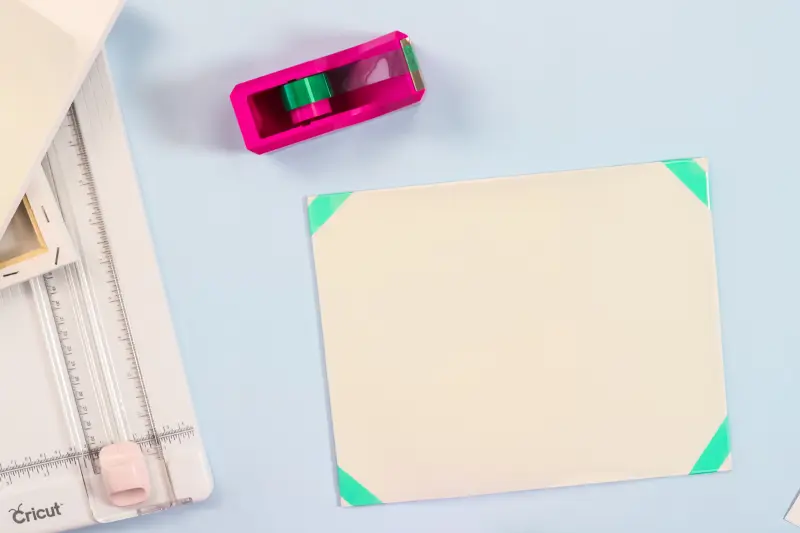
To create a reverse canvas effect, start by cutting the canvas along the outer staples on the back, all the way around.
Once you’ve completed the perimeter cut, remove the canvas and flip it over. Apply the HTV to the flat canvas portion following the same method as previously described. Keep the frame aside for later use, and note that you can stain or paint it as desired.
Press each of the canvases at 380 degrees Fahrenheit for approximately 10 seconds. After removing them while still warm, consider using a scraper to ensure optimal adhesion, making sure all areas are well-pressed. The goal is to secure the HTV enough to facilitate easy removal of the carrier sheet.
Remove the tape from the corners and carefully peel back the carrier sheet. It can be challenging to spot since it’s clear, but once you get it started, you’ll feel it adhering to your canvas. If there are any areas that appear less secure, it’s acceptable as long as it remain on the canvas without wrinkling.
Subsequently, you’ll press it again for an extended duration with the sublimation print, further enhancing adhesion and activating the adhesive on the canvas during the subsequent press.
Step 4: Adding Sublimation On Top
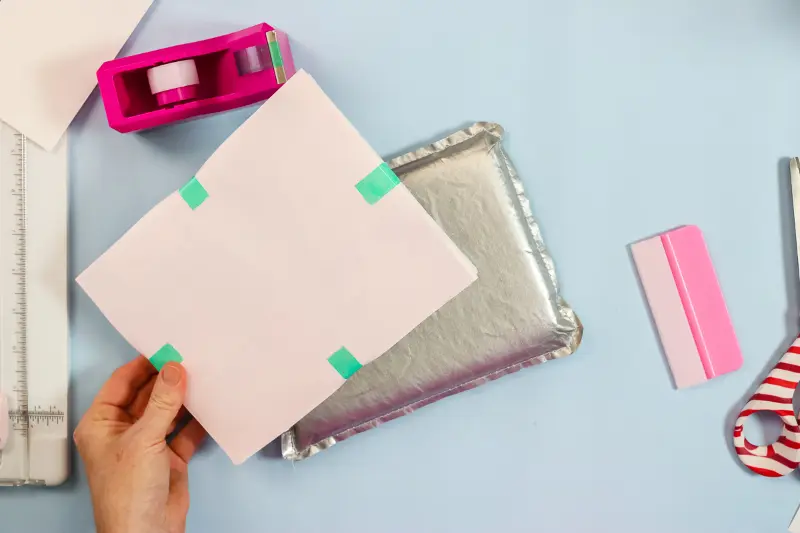
I prefer to go over the surface once more with a lint roller to ensure it’s completely free of any lint or debris. Next, position your sublimation print face down onto each of the canvas options. Carefully place each print in its designated spot and use heat-resistant tape to firmly secure it in place.
Step 5: Finishing After Sublimating
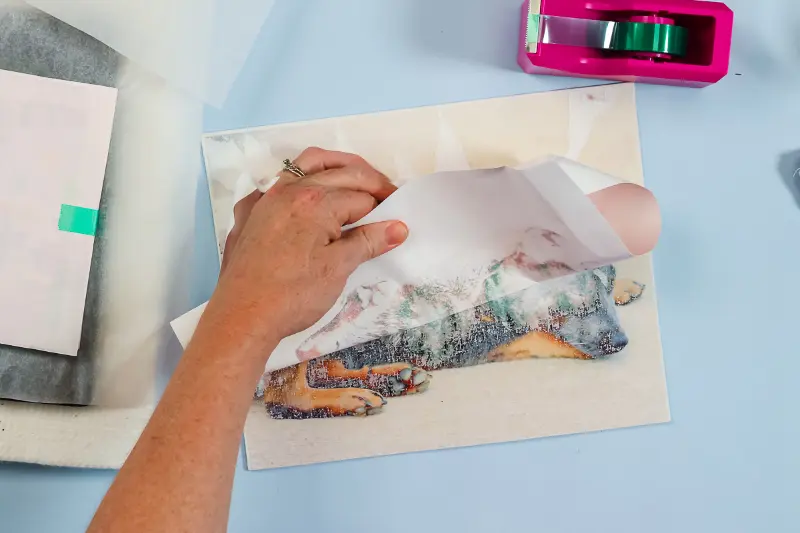
Begin by removing the tape that’s securing the paper. As you start peeling it back, don’t be alarmed by the initial appearance—it may look quite messy at first. Some parts of the paper might even seem stubborn and sticky, which is residue left from the paper.
Once you’ve removed most of the paper, it’s time to grab a rag and some water. Your aim is to eliminate the residue that remains from the paper. When you apply water, the paper will tend to curl up.
Gently use the dampened rag to work over the entire print, ensuring you remove all traces of the paper residue. During this process, you might notice some color transfer onto the rag. This is just the sublimation paper lifting, and it won’t affect the permanence of the print on the clear dye sub. No need to worry about rubbing it off.
It’s worth noting that applying less pressure during the initial step may result in less paper sticking, but regardless of the pressure used, you will need to use water to remove any remaining residue from the top surface. Some residue may persist, so water is essential to achieving a clean, gorgeous print on canvas.
Step 6: Texture Through Clear Htv
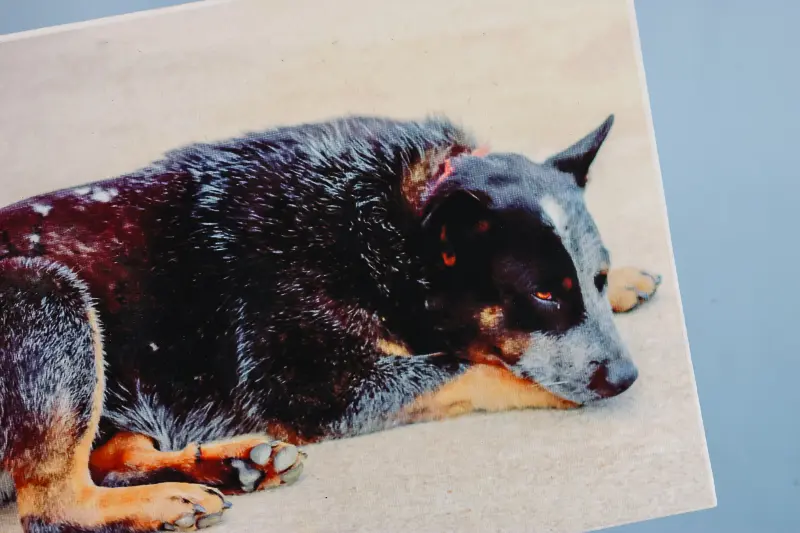
After allowing everything to dry, take a look at the expansive flat canvas—it’s truly impressive. One noteworthy feature of this product is that it allows the texture of the canvas to show through the clear HTV, giving it the appearance of a typical canvas.
Moreover, it doesn’t have a glossy finish; instead, it offers a matte finish akin to a regular canvas. This aspect makes it a fantastic choice for crafting personalized gift ideas, which I particularly enjoy creating.
Step 7: Finishing The Reverse Canvas
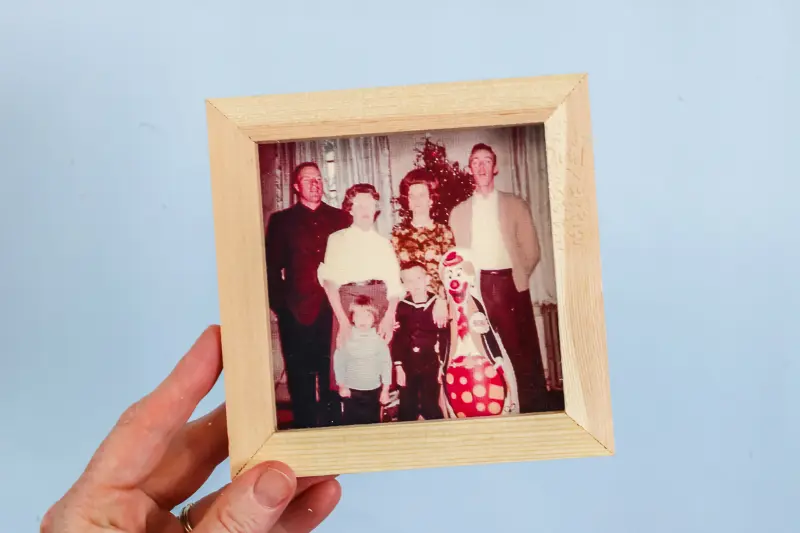
Using a pair of scissors, carefully trim around the photo’s perimeter, ensuring that it’s sized just right to be covered by the frame. Apply hot glue to the rear side of the frame, and affix it onto the print. Press it down firmly, and your framed canvas is now prepared for use.

FAQs About How To Sublimate On Canvas
How Do I Prepare The Canvas Surface For Sublimation Printing?
Answer: To prepare the canvas for sublimation, ensure it’s clean and free from any dust, lint, or debris. You can use a lint roller or a clean cloth to remove any particles. Additionally, make sure the canvas is completely dry before applying sublimation ink.
Can I Sublimate On Any Type Of Canvas?
Answer: While sublimation can be done on various types of canvas, it’s essential to use a canvas that is specifically designed for sublimation printing. These canvases are often coated to ensure the sublimation ink adheres properly and produces vibrant, long-lasting images.
What Temperature And Time Settings Should I Use For Sublimating On Canvas?
Answer: The recommended temperature and time settings can vary depending on the specific sublimation ink and equipment you’re using. It’s crucial to follow the manufacturer’s guidelines provided with your sublimation ink and heat press.
Typically, sublimation is done at temperatures ranging from 350°F to 400°F (177°C to 204°C) for about 30 seconds to 1 minute, but precise settings may differ, so always refer to the product instructions.
Conclusion
Sublimating on canvas might not be conventional, but it’s a creative and enjoyable way to add a unique touch to your art and home decor projects. By following these steps, you can turn ordinary canvases into personalized works of art that will impress everyone who sees them. So, grab your sublimation printer and canvas panels and start creating!


